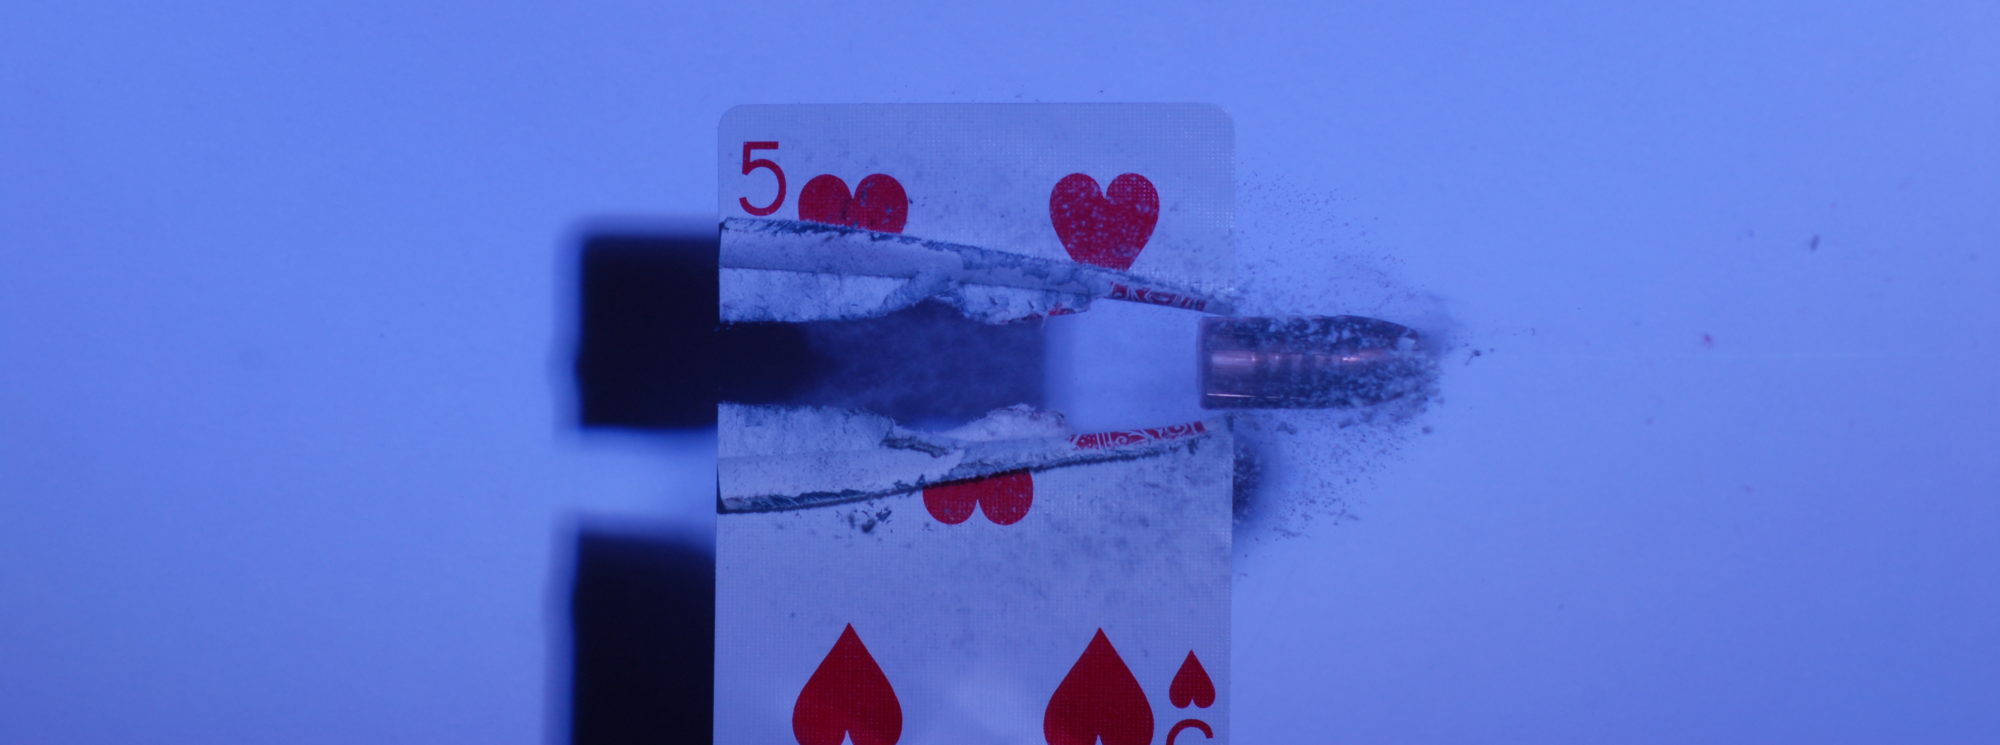
Test firing a new firearm is always something of a mile stone. It doesn’t mean the project is over, it just means it enters a new phase. It is no longer a block of metal and wood, it’s something that makes loud noises, and sometimes works like it was intended.
More commonly it is working through the bugs. Yes, we live in a world where you can buy a firearm from the shelf and expect it to have 100% reliability from day 1. It depends on the firearm, but it’s been my experience that when building a firearm that is how it goes about 50% of the time.
When I test fire a gun, the first few shots I fire from the hip, pointing the gun safely down range. The theory is, if cartridge is going to fail, or there is an issue, then I don’t have an explosion right next to my face. The conditioned of the fired brass is usually your best indication on how that firearm is performing. Hip firing can induce failures in a firearm, as it’s not typically designed to be hipfired.
I inspect the brass for the following issues before shouldering the firearm.
- Cracks or splits in the brass
- Leaking around the primer pocket
- A pierced or blanked primer
- Loose primer pockets
- Stretching, bulging or signs of stress on the brass
- Prominent ejector marks
Many of these indicators of trouble are sometimes associated with signs of high pressure. A firearm that is not properly headspaced will have one or many of the those symptoms.

In this case the brass all looked fine. However the VZ bolt stuck to the rear after every shot and refused to eject the fired brass. Now, this baffled me somewhat. I initially thought that the two were related. That the bolt velocity wasn’t high enough to “Fling” out the brass case.
I went back to the shop and pulled the gun apart and slid the bolt carrier across the receiver. I knew it was a little tight in the back of the receiver, I didn’t know if this would cause a problem or not, until I test fired it. It became the prime suspect as to why the bolt carrier wasn’t cycling.


This was a process. I would file a little bit, mark the receiver with sharpie and test the fit again. Pull it apart and file some more. I did this until the bolt carrier just barely moved freely without wanted to “Stick”. Once I assembled the rifle and test fired, I discovered that the ejection of the spent brass had nothing to do with the velocity of the bolt.
The bolt came forward attempted to chamber the next round only to smash the spent shell into the front the receiver. There didn’t appear to be any progress made on getting that spent shell out of the gun. I had to do some research on this, my gut told me there needed to be something that “Kicked” the spent brass up and out of the receiver. Many modern firearms have a ejection plunger that sits in the bolt to provide a “kick” knocking tipping the spent brass from the action.
This was harder to find then I intended it to be, but there is an ejector on the VZ, it is a piece that is peened into the receiver. On all of the build videos and build write ups, they seem to be missing this one crucial part.

Once in place, the ejector is peened in place.

The VZ functioned flawlessly with brass cased ammunition once the bolt carrier was fitted into place and the ejector was installed. However it does have some short comings, the pins are all very loose fitting and do tend to walk after several shots. I will need to remedy this problem, also I need to test the gun with Steel Cased Ammo. If an Eastern Bloc gun can’t run steel cased then is it really an Eastern Bloc firearm?
Lastly we still need to sight in the rifle before tearing it down and sending off the receiver to get painted. All of this will be the subject of future writeups.
